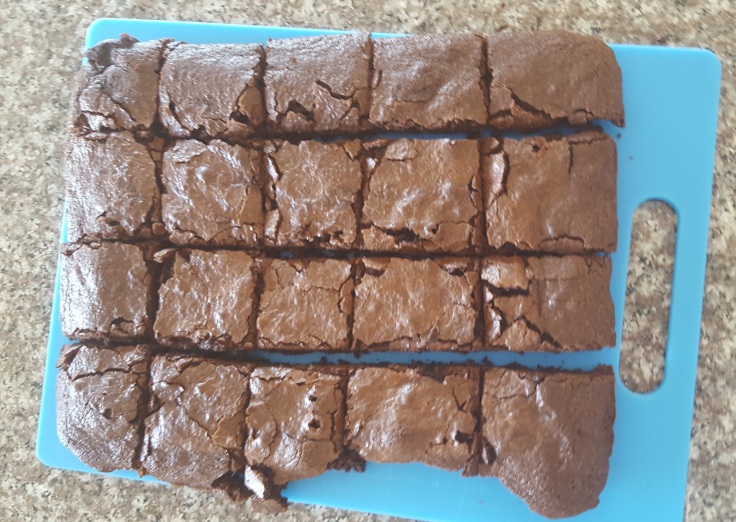
My first and only real concern when I found out I was lactose intolerant was “oh no… not chocolate”. I do research for a sort-of-living though, so I investigated and discovered that really good, really dark chocolate is often lactose free. Bonus: dark chocolate was my favourite anyway! I found a block of stuff that would work, and so these fudgey, gooey, chocolatey, delicious brownies were born.

This recipe, adapted from a similar one by The Hummingbird Bakery, really is delicious. It’s got a rich chocolate flavour and a texture that is somehow crumbly and gooey all at the same time. I love it. And the best part is it’s very customizable – if lactose isn’t a concern you can use any kind of butter, any kind of chocolate. Even if lactose IS a concern, you’ve got a few options available to you… in Australia, you can buy lactose free milk chocolate in some pharmacies and dairy free chocolate in grocery stores. All of these would work as substitutes, provided you like their taste in the first place. If you’d like to replicate these brownies, here’s the recipe:
Ingredients
- 180g block of dark chocolate (I used a 180g block of Lindt Dessert 70% Dark Cooking Chocolate, which I found in the baking aisle)
- 3/4 cup (or about 200g) lactose free margarine (I use Nuttlex Buttery as it’s the only one I’ve found that resembles the taste of butter) – you can also use regular butter if you want to, of course!
- 1 & 1/2 cups caster sugar
- 1/2 cup plain flour
- 3 eggs

Method
- Preheat your oven to 170°C or 340°F and line a brownie pan (mine is about 20 x 30cm, or about 8″ x 12″).
- Melt chocolate and butter together until smooth in consistency, being careful not to burn the mixture (see my note about melting techniques below!)
- Take the chocolatey, buttery mixture of goodness off the heat and slowly stir in your caster sugar with a wooden spoon until combined.
- Sift your flour over the mixture, stirring in to combine.
- Crack your three eggs into a cup, give them a quick whisk, and then add them to your mixture. Give it all a good stir with your wooden spoon until well combined. It is a relatively thick mixture, so don’t be surprised by that.
- Pour the mixture into your prepared brownie tin and pop it into the oven for 25-30 minutes.

- While you’re cleaning up, don’t forget to lick the spoon – the batter is delicious!
- When the brownies come out, let them stand in the pan for 5 minutes or so, and then turn out onto a cooling rack.
* Note on melting techniques: my favourite way to melt chocolate & butter together is to put it in a large metal bowl, and place that over a small saucepan with water boiling away in the bottom. The important thing is to ensure that the bottom of the metal bowl does not under any circumstances touch the water in the saucepan. After that, just stir away while the chocolate and butter slowly melt. I like this way because I’m yet to burn the chocolate by doing this. If you don’t have a metal bowl though, there’s a few other options:
- Place the chocolate and butter in a heatproof bowl. Put the bowl in the microwave, and microwave in small increments. Some people say 30 seconds, but I’m overly cautious and would lean towards 15-20 seconds at a time. Make sure you stir really well between intervals for this technique. It’s so, so easy to burn this way so BE CAREFUL
- Don’t have a metal bowl, but have two saucepans? Put the smallest one on the bottom with the water and the biggest one on top with the chocolate & butter. Works pretty much the same as the bowl-and-saucepan technique, but stir regularly to prevent the edges from burning.
That’s all from me this weekend folks. Let me know if you try my ultimate brownies, and let me know if you experiment and do something differently!

1 Pingback